Follow the given steps one by one.
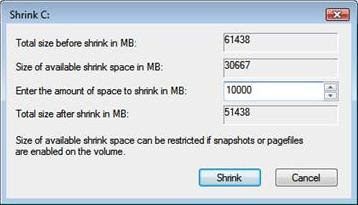
1. The first step is to create a separate partition for XP, this can be done using ShrinkVolume feature in Vista.
SHRINK PROCEDURE:
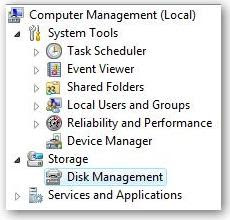
· Open the Computer Management panel, which you can find under Administrative tools or by right-clicking the Computer item in the start menu and choosing Manage
· Find the Disk Management item in the list and select that.
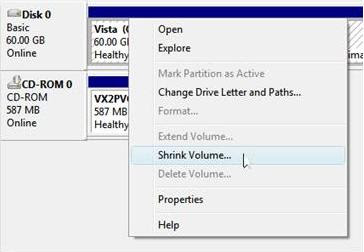
· Now shrink your volume by right-clicking on the main hard drive and choosing Shrink Volume
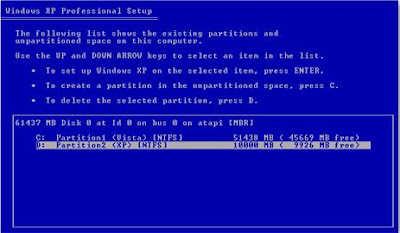
 2. Now you'll have to pop your XP CD into the drive and bootoff it. You may have to configure your BIOS to enable booting off the CD drive.
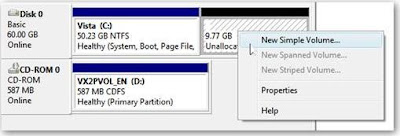
3. Once you come to the screen where you can choose the partition to install on, and then choose the new partition you created. Whatever you do, don't try and install it onto your Vista partition.
Download and install VistaBootPro from vistabootpro.org
Or click on the below link for direct download.
5. During the install you'll be forced to install the .NET 2.0 framework.
Download the .NET 2.0 framework from here
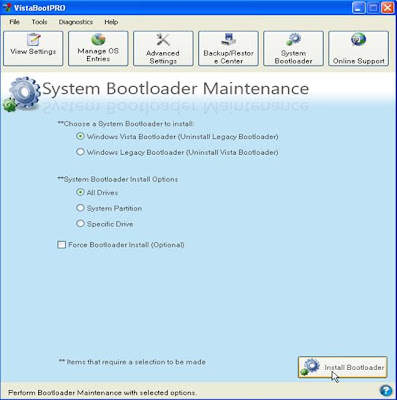
6. After installing it Open up VistaBootPRO and then click on the System Boot loader tab. Check the "Windows Vista Boot loader" and then "All Drives" radio buttons, and then click on the Install Boot loader button.
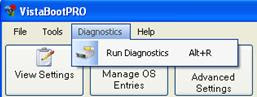
7. Now the Windows Vista boot loader is installed and you'll only be able to boot into Vista, to fix that just click the Diagnostics menu item and then choose Run Diagnostics from the menu.
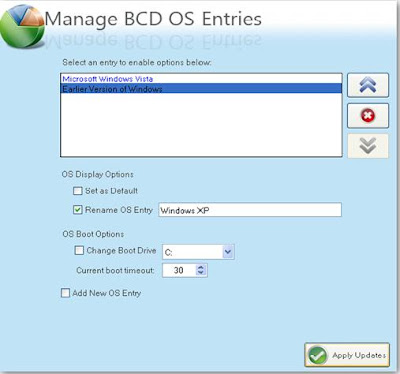
8. This will scan your computer and then automatically fill in the XP version... click on the "Manage OSEntries" tab and then click in the textbox for Rename OS Entry, and name it something like "Windows XP".
Alternative for step 7 and 8:
Instead of doing those steps you can try these steps.
1. Open up VistaBootPRO, click on the Manage OS Entries tab.
2. Tick the check box ADD NEW OS ENTRY.
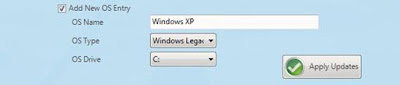
3. Give the appropriate OS NAME in the first tab.
4. Select Vista legacy in the OS Type.
5. Select the OS drive where the Vista OS is installed probably be C:
6. Click on Apply Updates button and then reboot your computer.
Now you can boot into both the XP and VISTA....Enjoy
1 comment:
Nice blog remove pop up's That's a big mess to visitors
Sorry if I hurt you
Salman
www.tips4blogging.co.cc
Post a Comment